


")


Hi everyone! In this little tutorial I hope to help you successfully shoot silhouettes and process them quickly and easily.
Just to remind you, and to let you know if you don’t already, I use Photoshop Elements and shoot in full manual mode. Full manual mode is HIGHLY suggested so that you are sure to get the greatest results out of your camera.
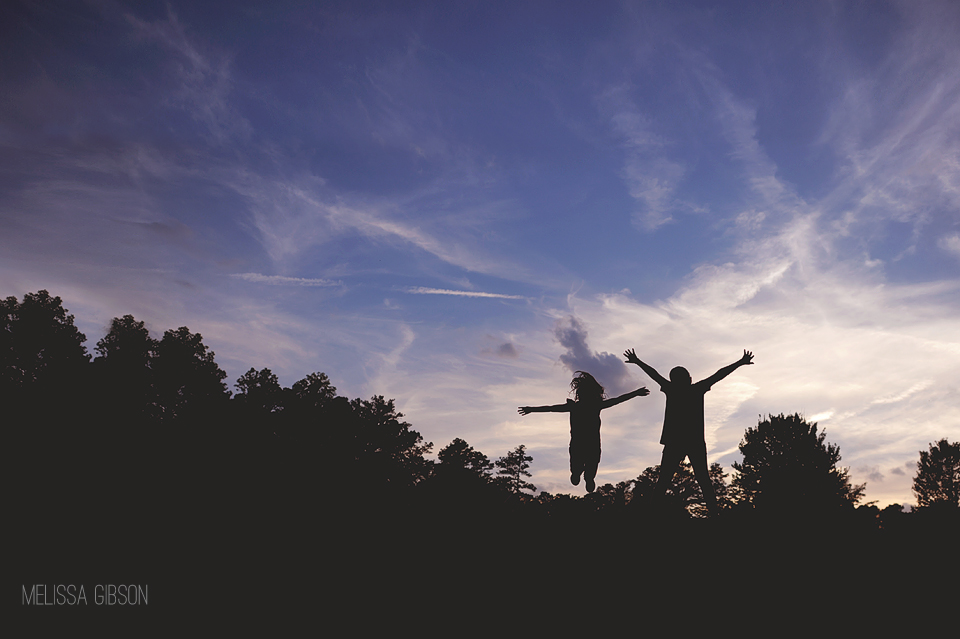
For the following image, I was shooting with a Nikon d3 and 35mm 1.4 lens.
Now. The nitty gritty.
When you’re shooting silhouettes, there are a few things you need to keep in mind:
1. Get down low. After you get down low? Get lower. The lower you get, the better you’re able to isolate the subject within the frame. Chances are, there are trees, grasses, shrubs, etc. Getting as low as you can will eliminate these distractions from the frame.
2. Meter for the sky. Metering for the subject will blow out the sky. Here, you want to do the opposite. You want to UNDEREXPOSE the subject by a LOT. Metering for the sky will do that for you. Point your lens to the sky (away from the sun), watch the meter and start with zeroing it out. You’ll more than likely have to go between +1 and +2, but 0 is a great start to see where things are headed.
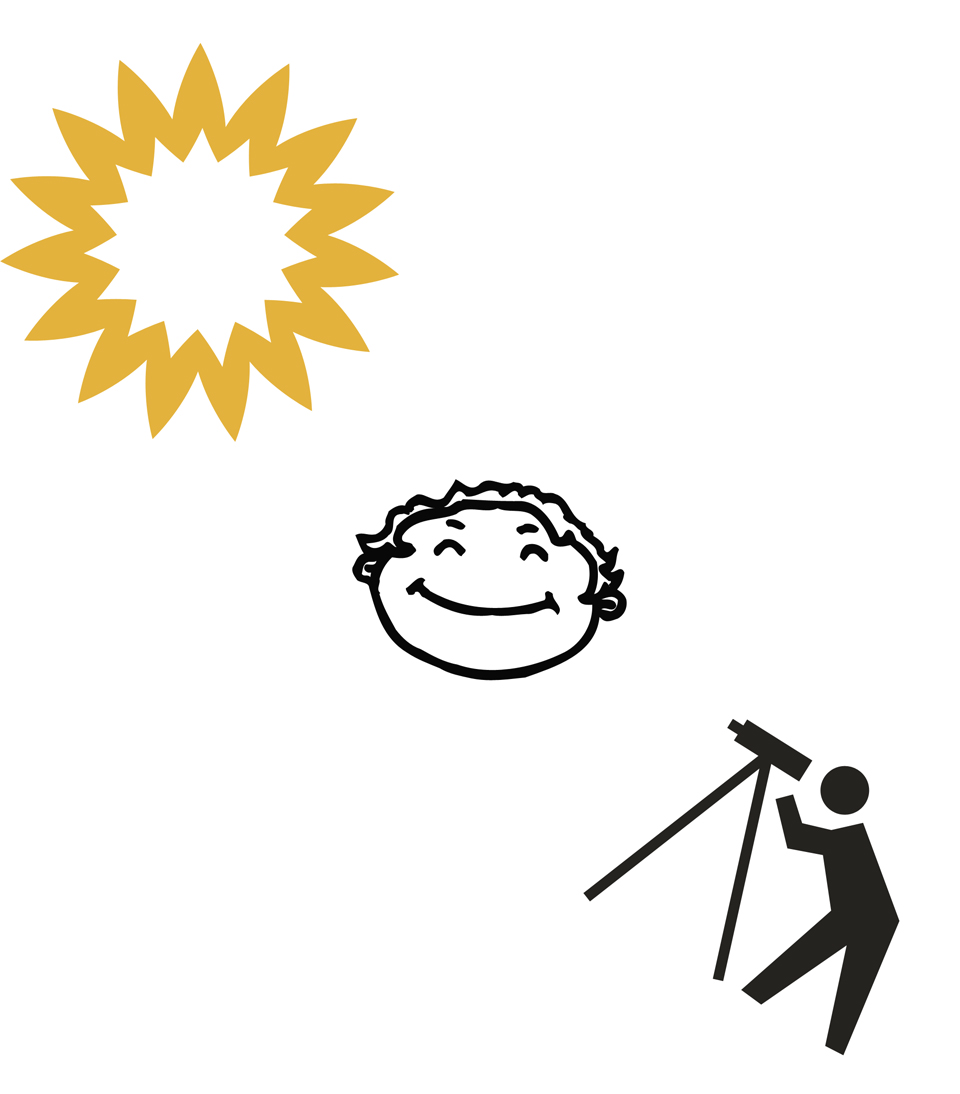
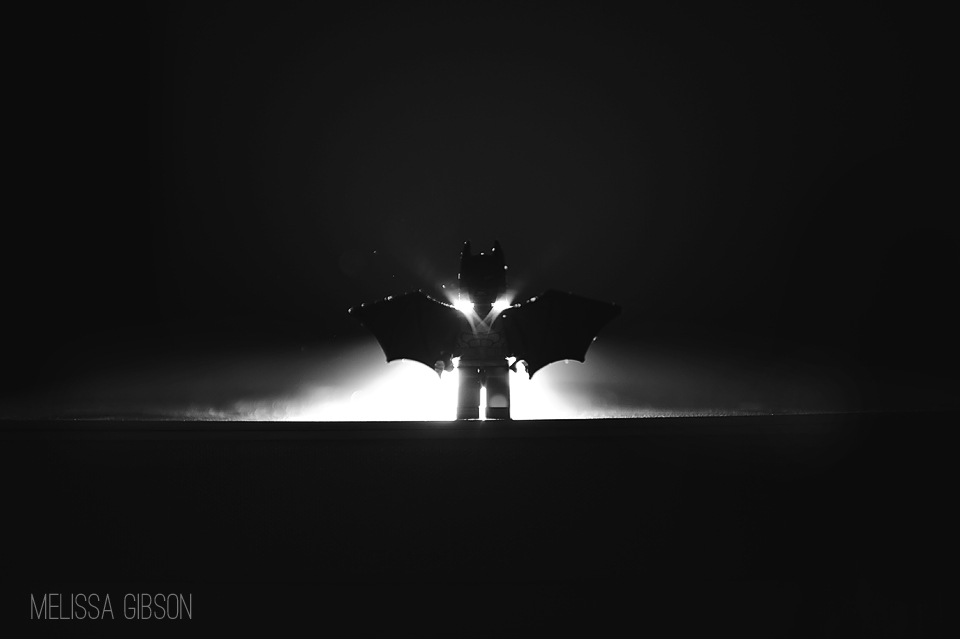
3. Shoot with the light behind the subject. Remember! You are not limited to using the sun. You can also choose to use car headlights, a flashlight, ipad light and even the light from a streetlamp. Get creative! Don’t stay within the box. Get out of the box and shoot creatively. (how do you like this diagram with the stick photog using a telescope?)
4. Shoot up. Include less of the ground and more of the subject and sky. Try placing your subject on the bottom line of the Rule of Thirds to give more impact to the story.
Now for the pullbacks and setting information:
1/8000 sec; f/2.0; ISO 200 (super high shutter speed to make sure I froze their movement as they were jumping)
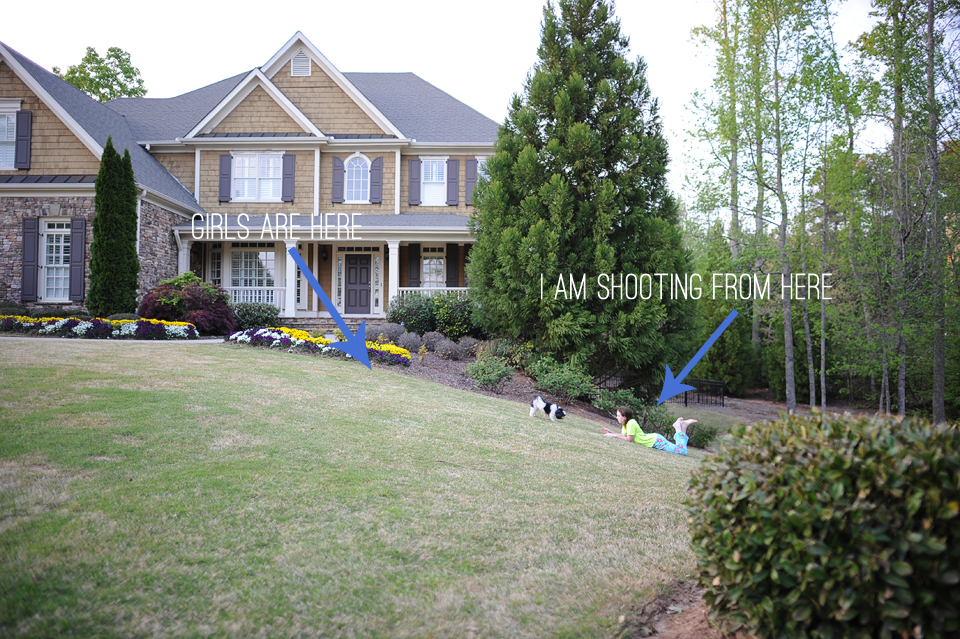
Here’s how the area looked without the girls and metering for the subject. Tip: You can meter for your hand before calling the subjects over.
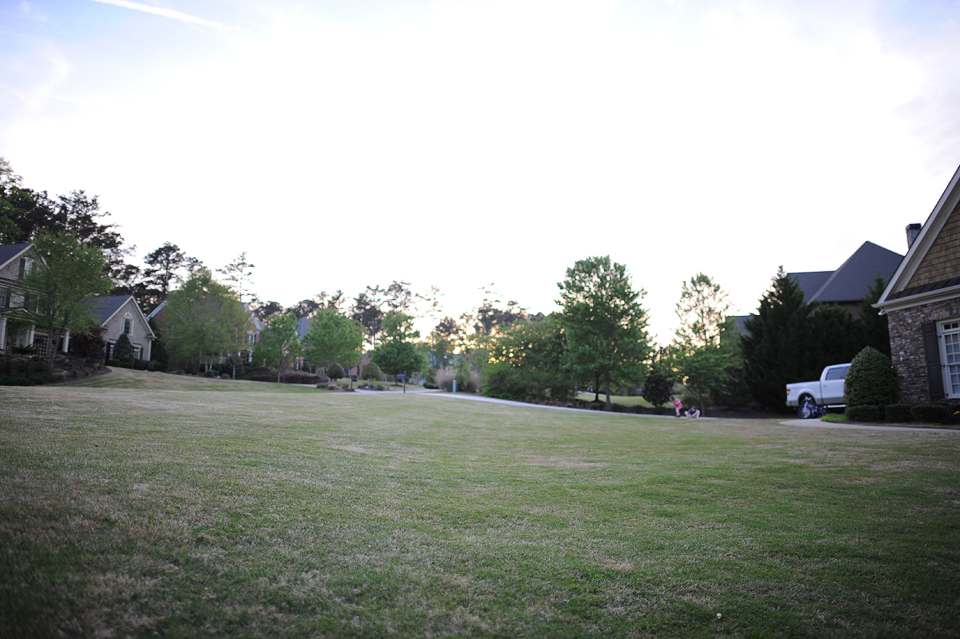
Here’s the area after I metered for the sky using the settings posted above.
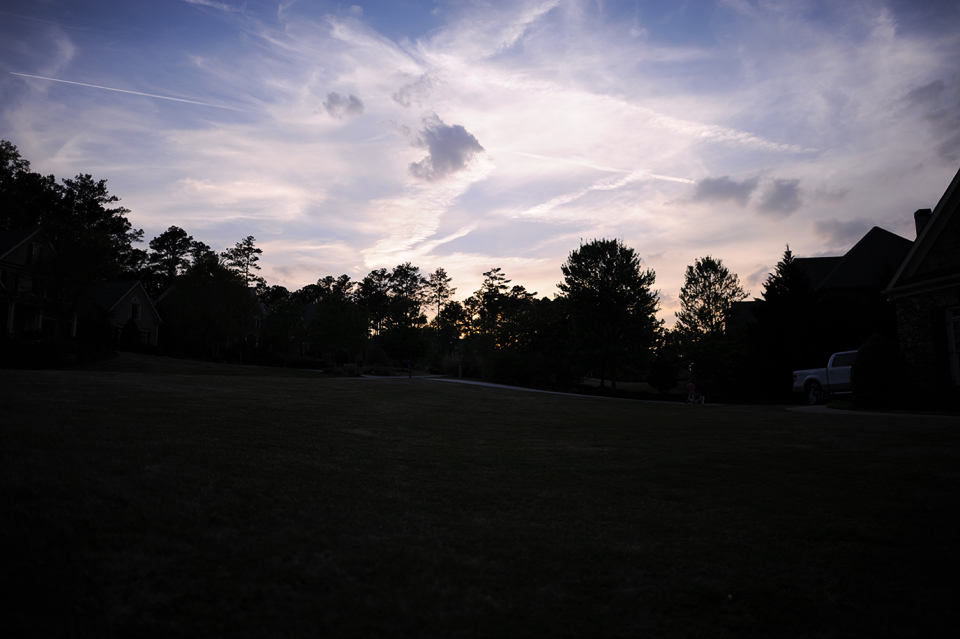
Whoa. NOW do you see how pretty that sky was?!
Now that I’m ready, I call the girls over, get down low….way low….and shoot up. Here is the SOOC shot.
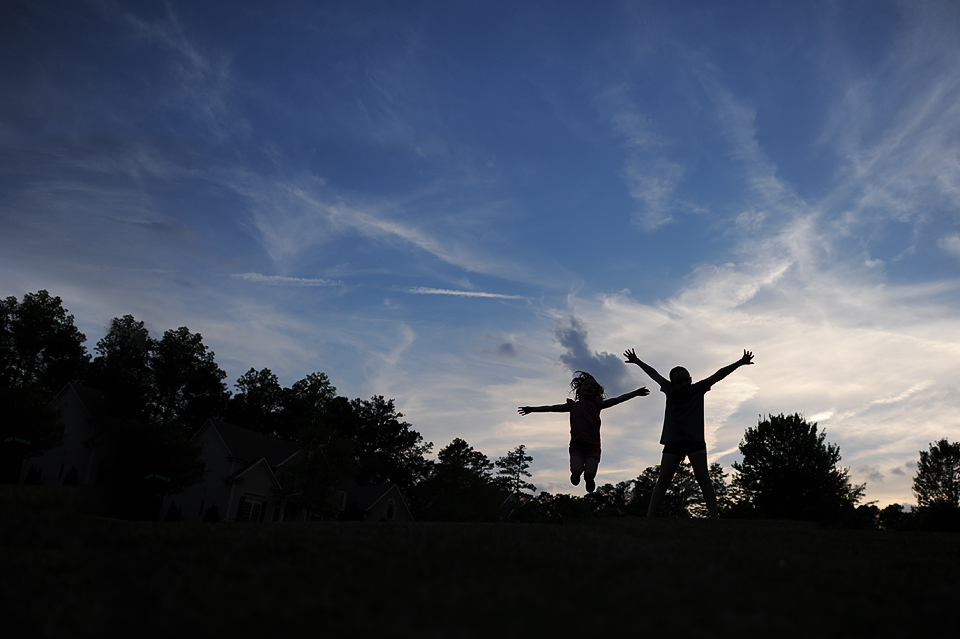
Did you see that? If you meter correctly here, get down low enough and have a high enough shutter speed to freeze that movement? You will have very minimal editing to do later. Dude. Now THAT is what I love about manual mode.
Now let’s talk about editing and what I chose to do to this image.
1. I opened the file in ACR (comes with PSE and full photoshop) and pulled the blacks a bit.
2. Open in PSE and do a levels layer adjustment. Go to Layer > New Adjustment Layer > Levels. Or simply click the blue/white circle in the layers panel and choose ‘levels’.
3. Next, you can choose the colors in the RGB panel to adjust the image. For example, you can add more blue by choosing blue from the dropdown and moving that slider. Make sense?
4. Pulling the Output Levels Slider to the right (in this same levels window) will add a haze to the image.
5. You can also completely change the colors in the image using a Gradient Map. Go to Layer > New Adjustment Layer > Gradient Map (or choose ‘gradient map’ from the blue/white circle in the layers panel). Once the Gradient Map window pops open, click on the colored bar (it may be a gray to black bar depending on your settings at the moment). Choose a colored ‘box’ in the gradient map window. I chose violet and orange. Click OK. Adjust the opacity of the gradient in the layers panel.
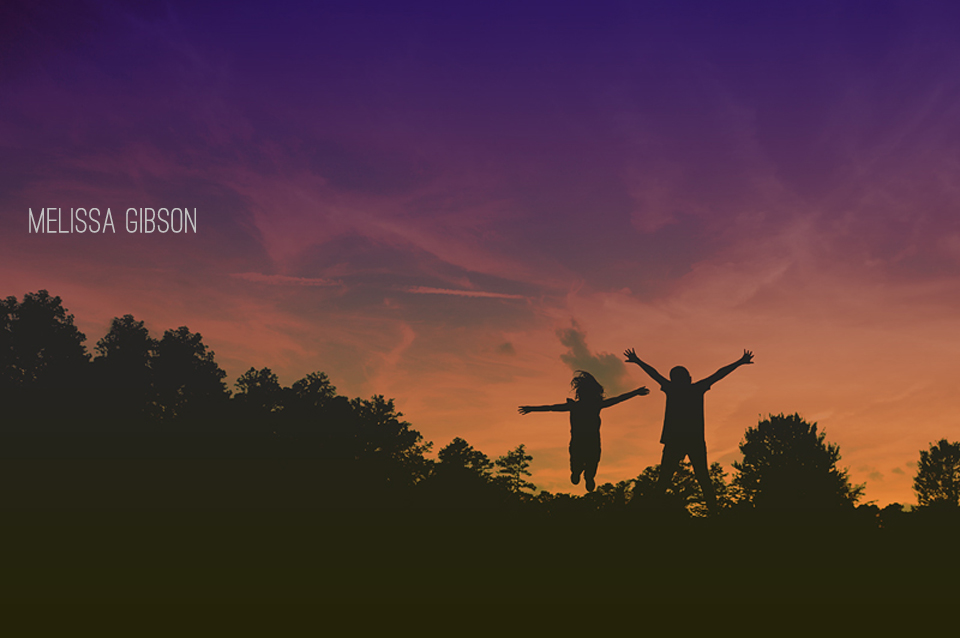
Now, you’ll want to save this .psd file, flatten and then save as a Jpeg.
There are so many ways to edit a silhouette and these are two quick and simple edits. I encourage you to have fun, play around with different ideas and colors and see what YOU like best in your images. Also, don’t forget to think outside of the box. Use various light sources and subjects, processing and finishes. And, as always, post any questions in the comments here and I’ll get back to you.
I hope this helps! Here are a few more silhouettes to give you more ideas.
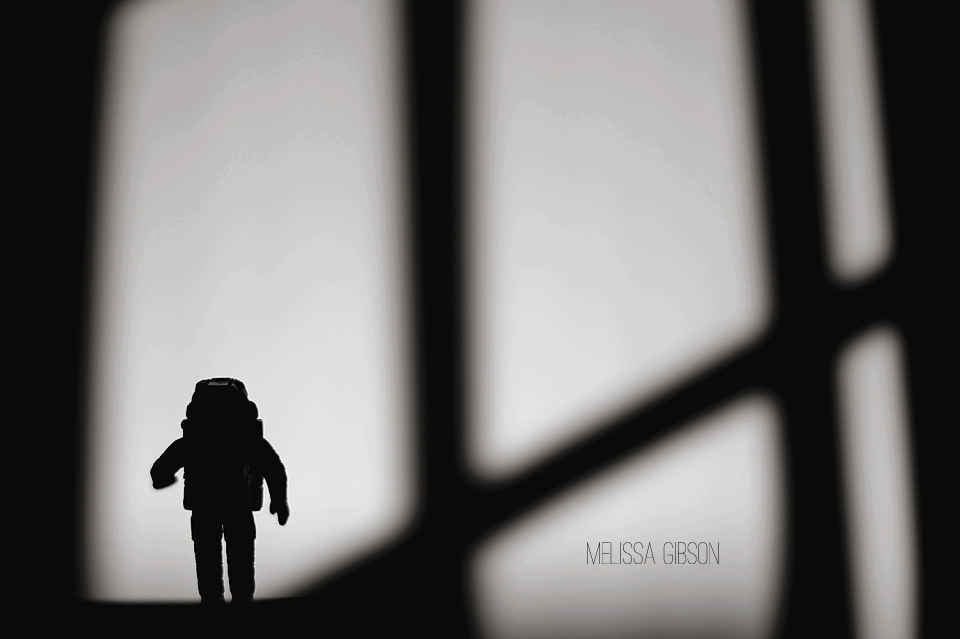
Using window light
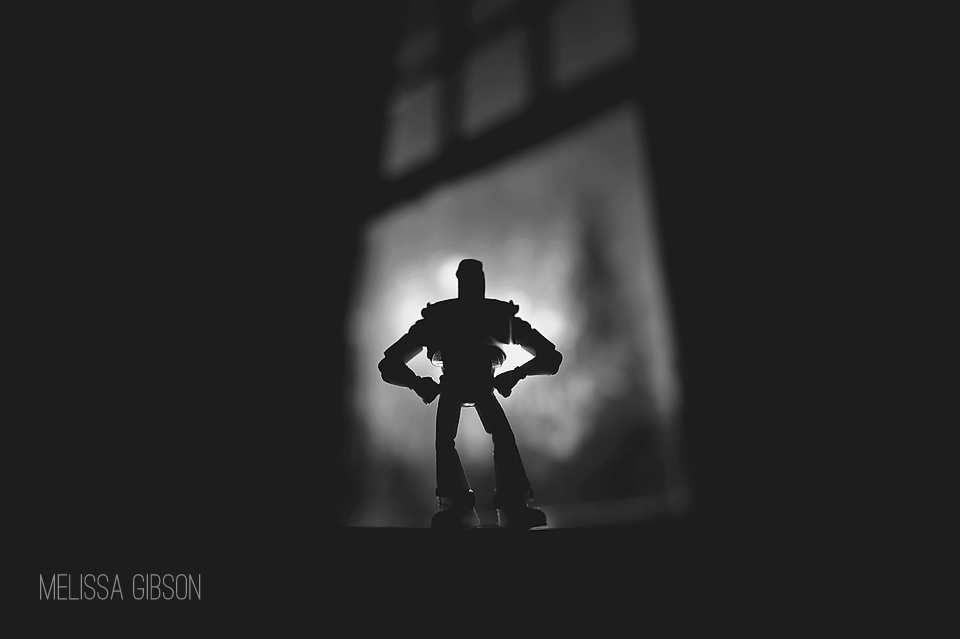
Using a flashlight
Using bright window light shining on the wall
If you’re interested in a course on manual mode or Photoshop Elements, you can read all about what I offer through Clickin Moms Photography Forum here:
Photoshop Elements: Photoshop Elements with Melissa Gibson
Mastering Manual Mode: Mastering Manual Exposure: Shooting 102


COMMENTs: